There’s a lot to think about when creating Call of Duty classes that separate good players from great ones: the right perks, weapons, and of course equipment.
This guide is meant to familiarize players with lethals. These explosives and throwables can set traps and help you survive tense situations.
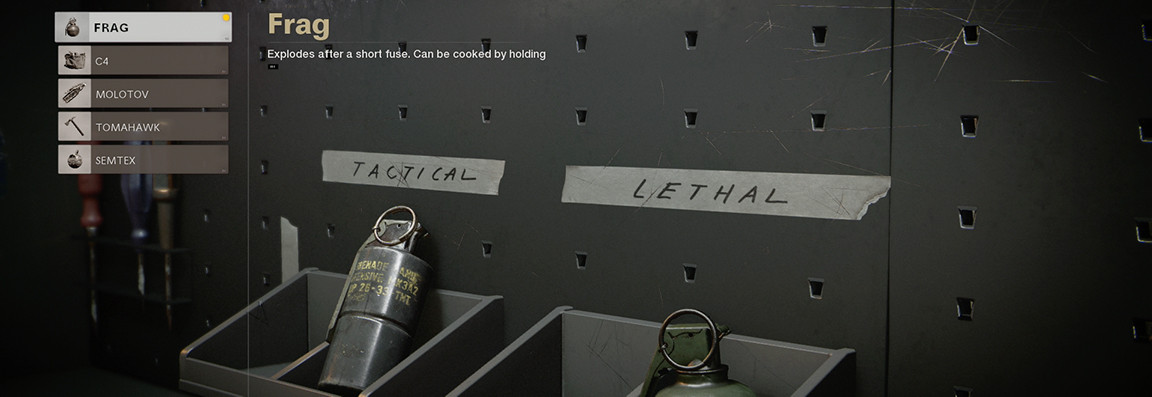
Here’s a list of all the lethal equipment, including tips for how to use them.
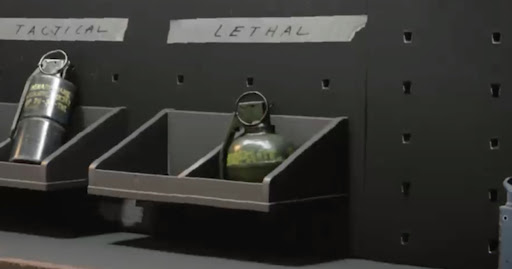
- Frag Grenade
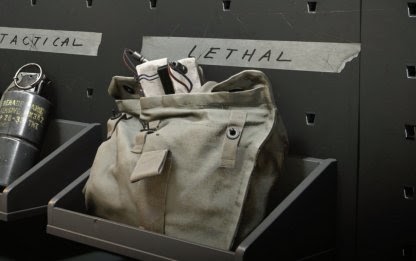
- C4
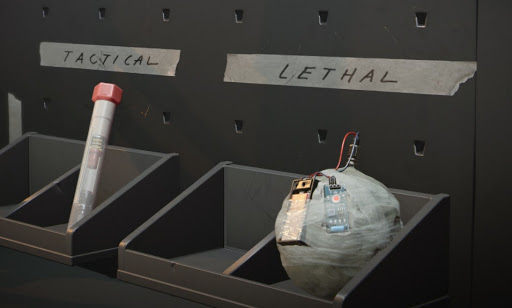
- Semtex
- Molotov Cocktail
- Tomahawk
Frag Grenade Guide
The frag grenade unlocks at level 4 and can be cooked, meaning you can time your throw so it doesn’t sit on the ground for a few seconds before it explodes. Frags can be picked up and thrown back, so be careful about timing. You never want to die from your own equipment. A well-timed throw can mean the difference between life and death.
Frag Grenade Tips
The frag grenade takes about four seconds to explode and will have a larger radius if you explode it mid-air. Cook the grenade for about two seconds before throwing to make sure the frag will explode before the enemy has any chance of returning it to you.
Use physics to your advantage. The frag grenade will bounce off walls, so be aware of your surroundings and practice different angles depending on the format. This is especially useful to flush enemies out of pathways or rooms. With enough tosses, the timing and angle become more intuitive.
A cooked grenade will still explode when you’re killed, so be careful around enemies and allies (if you play Hardcore modes with friendly fire on).
C4 Guide
C4 unlocks at level 12 and sticks to things like vehicles. It’s detonated from a distance and sticks to all surfaces so you can also use it to set traps.
C4 Tips
While C4 has a pretty big blast radius, you have to be fairly close to your target to reach. They’re great for killing large groups of people. Throwing it directly at enemies is less effective compared to older Call of Duty titles because triggering the explosive takes more time.
Unlike a frag, C4 can be damaged. If friends or foes shoot one, the explosive detonates, hopefully taking enemies with it. That’s why they need to be placed strategically and detonated fairly quickly. If it’s not damaged or detonated, the player can pick it back up.
Double tap the reload button for an alternate way to trigger your C4.
C4 has a bright light and is fairly easy to spot. Counter this by placing it around corners where players are less likely to look. Combine it with a spy plane or field mic to observe enemy paths to get the best bang for your buck.
Use the Danger Close Wildcard to double down on C4 if just one explosive isn’t enough.
Here’s a video from Youtuber SQUISHY that demonstrates the properties of C4 and some other strategies for using it.
Semtex Guide
Semtex is a sticky grenade that unlocks at level 39. It sticks to everything, including players. It explodes quickly after a set time once it makes contact with a surface.
Semtex Tips
One thing to keep in mind is that you can’t bounce these off corners to angle into rooms. Once it sticks, it’s done. If you get semtex on a player, it is pretty much a guaranteed death every time, just don’t let them get too close.
Semtex works like a pre-cooked frag grenade, so it’s basically a quicker option if you want a throwable that’ll explode more quickly without fear of rolling out of range.
The semtex also has a bigger blast radius than a frag grenade. There’s a lot of talk about which is better to use, the frag or semtex. The truth is it depends on playstyle.
Molotov Cocktail Guide
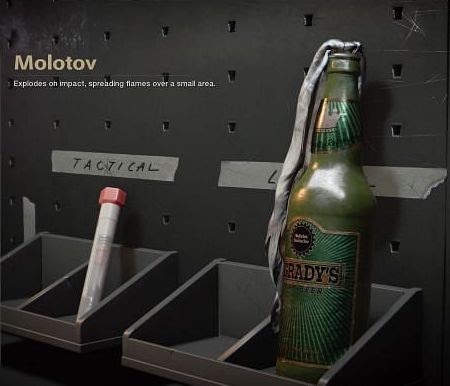
The molotov cocktail unlocks at level 30. It’s a pretty simple concept, a bottle of alcohol with a flaming rag that explodes on impact. It’s also the weakest lethal on the list. What it lacks for in offensive power, however, it makes up for in other ways. The flames last for about 10 seconds.
Tips for using the Molotov Cocktail
Don’t think of the molotov cocktail as an offensive weapon, per say. While it will do damage, the key use of this lethal is in zone protection. It produces a radius of flames that can be used to keep enemies away from an objective or simply block a lane. Use it for this purpose.
It has excellent range and can keep enemies away from a far distance. You can even hurl it into rooms or windows to finish off or expose enemies.
The best way to defend yourself from a molotov cocktail is to use the Flak Jacket perk, which reduces the effects of most lethals.
Tomahawk Guide
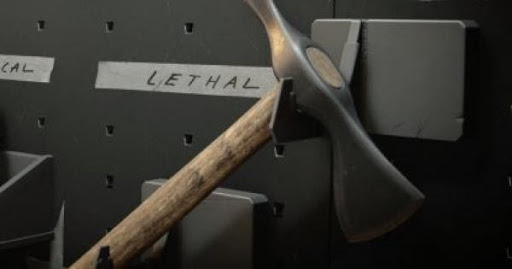
The tomahawk is a retrievable throwing axe that instantly kills players. It moves really quickly and travels in an arc. Anyone can pick up a thrown tomahawk.
Tips for using the Tomahawk
Because of the way it travels in the air, the Tomahawk needs to be used a few times before you’ll feel remotely consistent. Don’t set your crosshair on an enemy, but rather aim slightly above to make up for the arc.
The tomahawk is a better option than a pistol at close range, assuming you don’t miss. Use the Quartermaster perk to get back lost ones or always carry a second for those tight spots with the addition of Danger Close.
All images: Activision