There are a lot of reasons to return to Call of Duty Black Ops: Cold War in Season 2 like the FARA 83, LC10, and new maps. The jungle-themed Apocalypse is one of those hectic, run-and-gun levels designed for high kill counts with ample room for strategy.
Let’s dive into tips and tactics such as lines of sight to improve your KD and win more games.
COD Apocalypse map
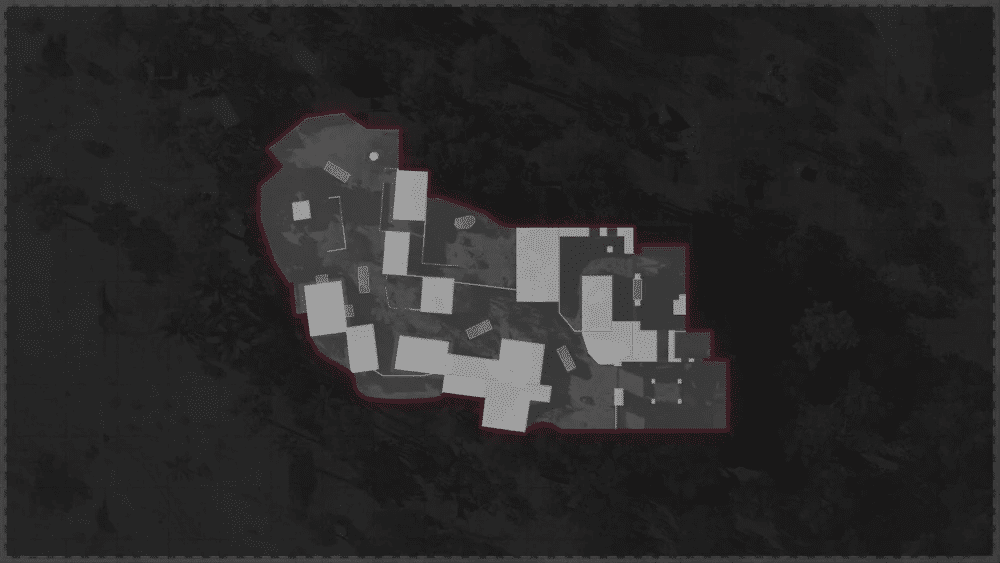
The map is based in the Lao cartel base. It’s a medium size jungle level featuring some tight corners and funneled sections on both sides. Expect contested battles in the middle of this traditional three lane map. Multiple entry points in most rooms make it difficult to camp. Keep moving and keep an eye out in multiple directions to stay ahead.
Hardpoint tips
Here are the Hardpoint locations and and rotations for Apocalypse:
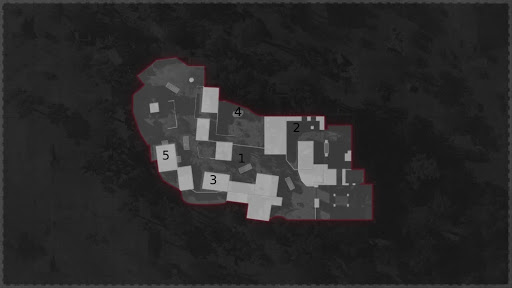
Location 1 is the main road, 2 is the courtyard, 3 is the Stilts, 4 is the ruins, and 5 is the armory. Remember the Hardpoint always follows the same order.
Get to the next Hardpoint early to set up before enemies storm the position if you’re having trouble capturing the current objective with little time to spare.
Keep an eye on the direction of the enemy’s spawn to best defend the area, especially at the first Hardpoint in the middle of the map. Otherwise, you’ll only notice enemies after they shoot.
Coordinate with your team to reduce the risk of positions that offer great lines of sight at the cost of exposure. Vary your position to fortify the Hardpoint and stay alive long enough for the rest of your team to arrive. There’s nothing wrong with dying if your team maintains the objective.
Domination tips
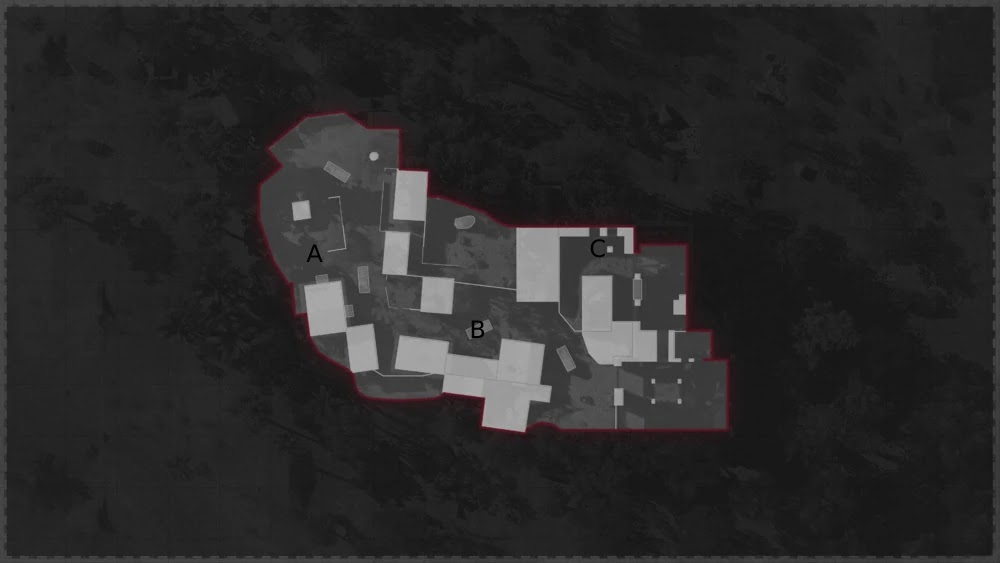
Whichever team holds the B flag wins Domination on Apocalypse. While that typically determines most matches in this mode, the middle position is tricky to hold because of how many ways players can get in and out of it. There’s always the chance an enemy will stop you from capturing right at the last second.
If your team is more about playing it safe and less guerrilla style tactics, consider the following spots to improve your defense at the B flag:
- The corner next to the window on the small house near the Jeep: Catch players entering from the C side, through the window, the second floor section on the other side of the Jeep, and from the dark section also on the other side of the Jeep.
- The adjacent corner behind the Jeep: This spot also covers the window, second floor, and players approaching from either side. However, it does leave you vulnerable, so coordinate with your team to minimize the risk.
- Second floor section next to the door leading to the A side: This is a less common position, giving you the element of surprise, assuming you haven’t used it yet. Be careful if the enemy spawns on the C side since you’ll have a lot more positions to check for enemies.
- Prone on the A side of the Jeep: Sometimes a ‘bad’ option can be good, but only if the other team isn’t expecting it. Try it out when your team has the A and B positions, otherwise you’re stuck out in the open when enemies round the corner or use the window.
- Flank from the shadows on the south side of the map: The best defense isn’t always in the objective. This tight section is safer than the Main Road and often gets less attention because the other paths are more active. Check the corners when gunning for the B position.
Best lines of sight
Temple window
In the right corner of the map, near C, there’s a small window to look through which you can use to see enemies coming from either side. Be careful. If you’re caught looking you’ll probably be killed.
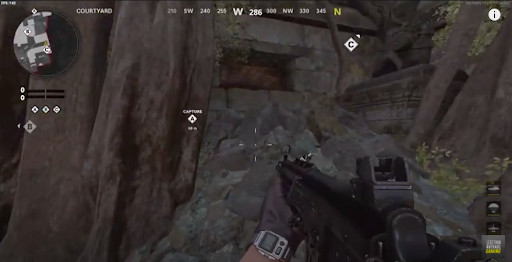
Image Source: Less Than Average Gaming
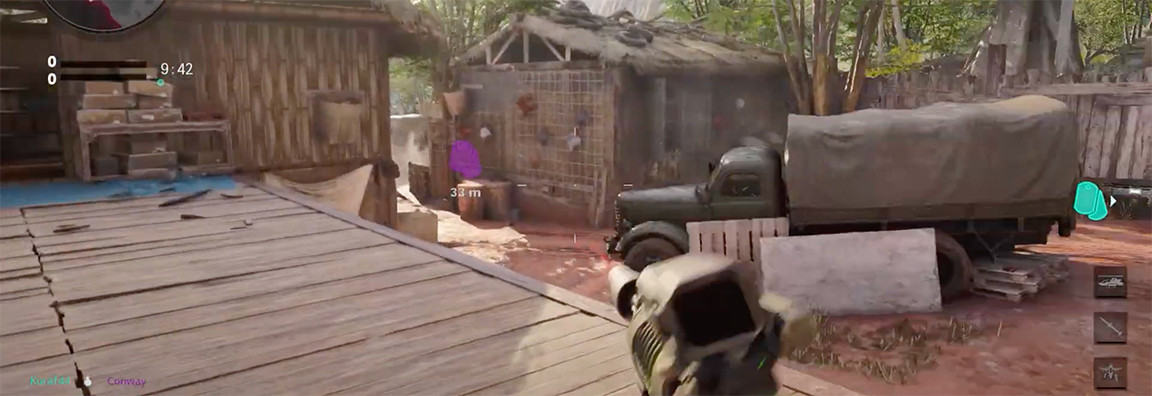
The southeast wall
If you hug the southeast wall closer to the rickety wooden structure, you’ll be able to see enemies ahead. Here’s what that looks like:
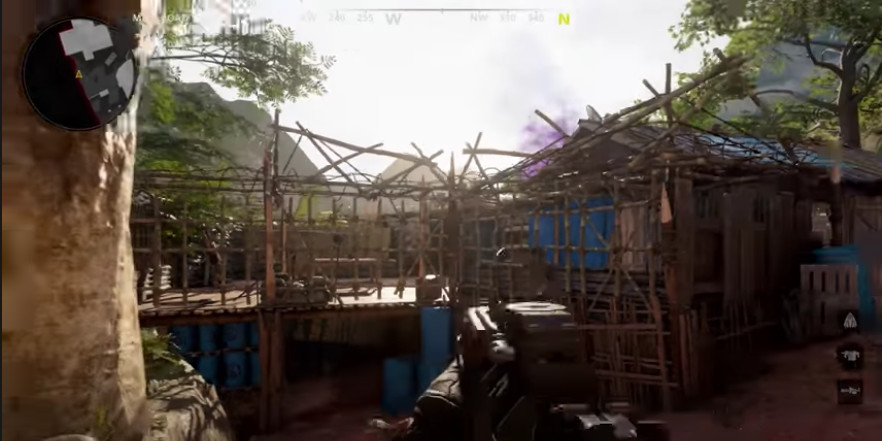
Image Source: TheXclusiveAce
A zoom scope works well here. Strafe a little to get a better eye on enemies. Alternatively, you can jump on the blue barrels and see the same spot, although that will expose you to enemies coming from underneath the structure.
The invisible helicopter ledge
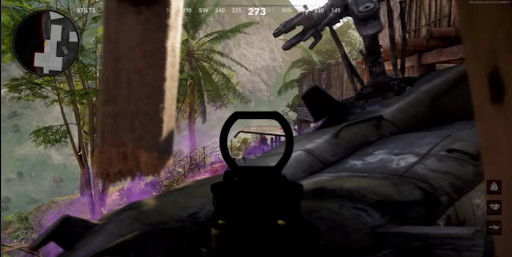
Image Source: TheXclusiveAce
This next sightline takes a little practice. Go to the edge of the helicopter at the South edge of the map, and jump on an invisible ledge in the front. Check out TheXclusiveAce's demonstration for the spot in action.
Watch the central alcove under the tree
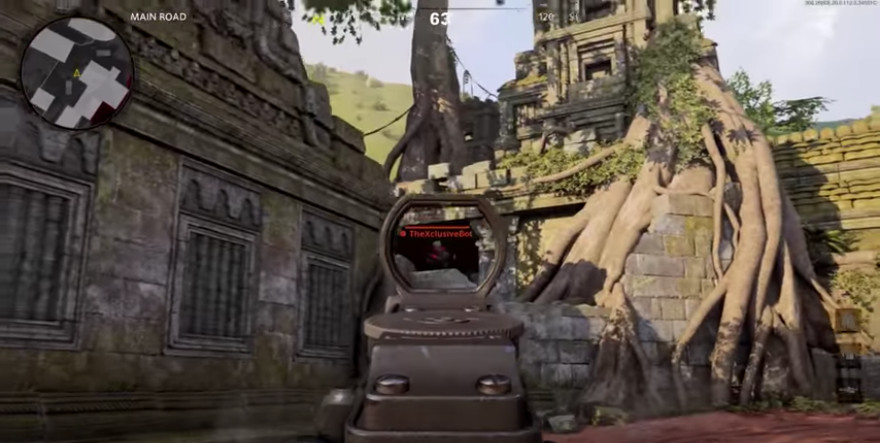
Image Source: TheXclusiveAce
Go to the area in the middle of the map right near the B flag. You’ll almost always find someone in that little alcove near the large tree choking the concrete.
In front of the helicopter
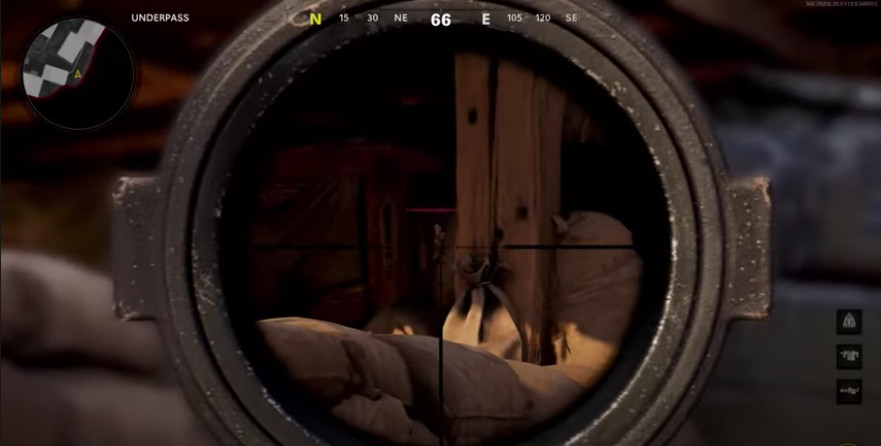
Image Source: TheXclusiveAce
You can find this sneaky sightline in front of the helicopter. Hop on the broken part on the pathway toward the vehicle, and then use a sniper rifle to pick someone off.
Balcony
Remember that spot in the mid map? This sightline covers that spot as well. Except from on top of that little balcony, where you can hop in and get a clean line to an enemy in that area. See the photo below for reference.
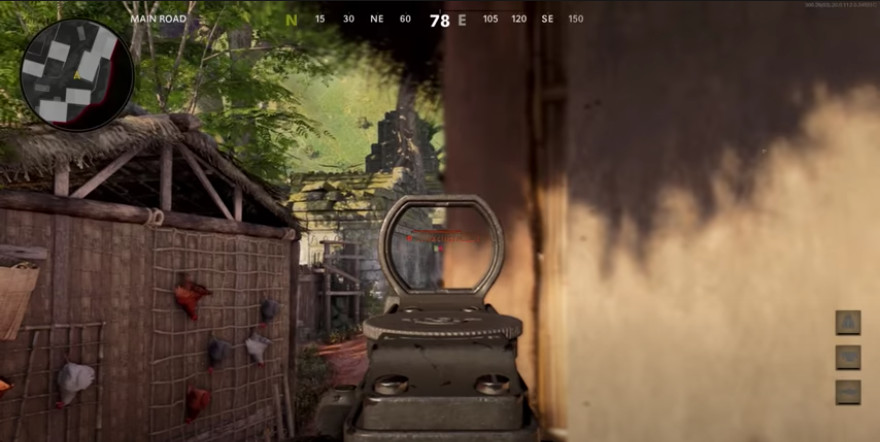
Image Source: TheXclusiveAce
General Tips
- Windows – Keep an eye for campers through the little windows throughout the map.
- Watch the underground route – One of the main routes is the dark passage through the large structure in the middle south part of the map. Approach it from the middle part of the map, not the East to have the advantage, and use the blue barrels for cover.
- Pick close-quarters guns – Because of the many tight corners on the map, have a good SMG like the LC10 available.
- Power spot – Be aware that a lot of players will pick that power spot we talked about earlier. Use the sightlines to take them out.